
We all have been there at some point or another, our website either outgrows our host and it’s time to find a new one, we find a better deal for us, or sometimes the service stops being what it usually was and now you need to migrate your entire website to a new host, a normally tedious, complicated and time consuming task. But fear not, dear reader, for now there’s a much simpler way to migrate your Wordpress page with one single plugin, the All-In-One WP Migration plugin. With this beauty, all the nuances and complicated parts of migrating to a host will be done all the more easier.
Things to Keep in mind before going forward
First and foremost, if you’re moving to PlusPlus, you can skip this entire article, because we’ll migrate your website for absolutely FREE. We are willing to offer this valuable service and we’ll make sure that everything in your website is moved over correctly and safely, and we’ll make sure that everything works just as it did on your prior host.
If you do plan to migrate to a new host on your own, however, there’s a couple of things you need to know, these things will sound familiar if you’ve done website migration in the past, but it’s always good to keep them in mind so that things go swimmingly.
- First, you’ll want to keep the site up in your old host while you are moving to the new host. The reason being simple: You want to minimize the downtime in your website. People from all over the world may be eager to visit your website, and a “Can’t connect to host” screen isn’t exactly the best of experiences. Keep the website up in the old host until everything has been moved to a new one successfully and correctly.
- You also want to pay special attention to databases, Wordpress is a database-driven platform, and because of that you want to make sure to disable updates and comments while you’re moving your website. Not doing so will result in all the updates and comments done ever since you started migrating being lost. Once you move to the new host, you can re-enable this feature again.
- Make sure to update your SSL certificate, and if you don’t have one, get one! SSL certificates are what make HTTPS possible, and will help you a lot! If you do not have one, do check with us, we have many options even FREE ones with certain hosting plans, and try to tackle this process relatively early, as it can take some time, especially if you have a premium certificate that needs to be verified by the issuer authority.
- You also should consider transfer your domain name registration if you do not trust in the current company.
- Remember to set up your email accounts at the new host, sometimes we give this step for granted, as we don’t tend to pay too much attention to emails when they do work. Make sure to set up a new email account for every existing email account on your domain before you update the DNS as the last part of the migration. You also want to make sure to redirect all the mapping part of your migration, Make sure to be very careful and complete with all your redirects, otherwise you may suffer SEO setbacks, which can also cause a big dip on your search result rankings. If you worked hard on improving said rankings, be sure to never skip this step!
And finally, the last thing to do is to change the DNS and wait. After you update your domain’s name servers to point to the new host, nowadays the process is quite quick, but you should still wait 48 to 72 hours before disabling the old site, as some places in the world, namely ISPs in rural areas or small countries take about that long to update. While most of the world may be able to see your shiny new site, some people may see the old one for a couple of days.
Installing The All-in-One WP Migration Plugin
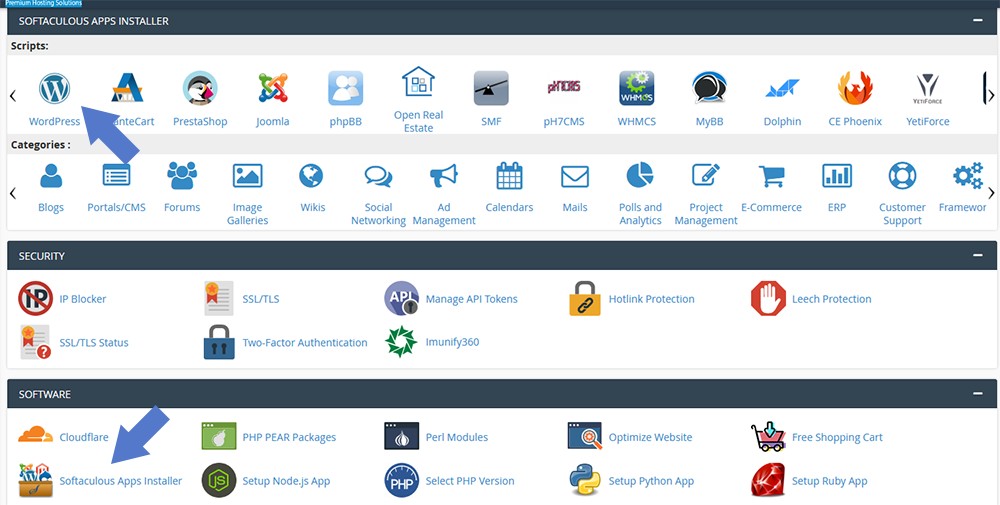
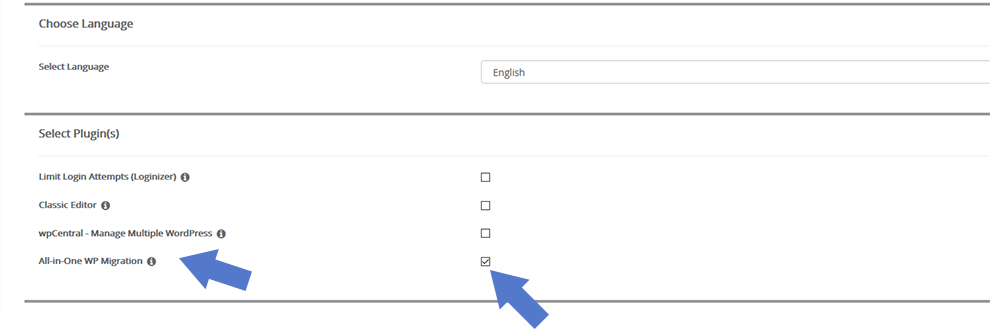
If you are our cPanel Premium Web Hosting client, you can install Wordpress from the Softaculous section in your cPanel, in this installation process, our system will automatically have included and available the ability to install the plugin alongside Wordpress. With this, you avoid having to do the installation step of the plugin, and when you install Wordpress, you will have the plugin ready to migrate your website from another provider.
if you already have Wordpress installed, or you don’t want to or can’t delete it, you can install the plugin manually how it’s laid down below.
Now it’s time for the installation guide. What you first want to do is log in to your Wordpress admin panel. In the left column navigation, mouse over the “Plugins” link and click the “Add New” link.

In the “Search plugins…” box, enter “All-in-One WP Migration”.
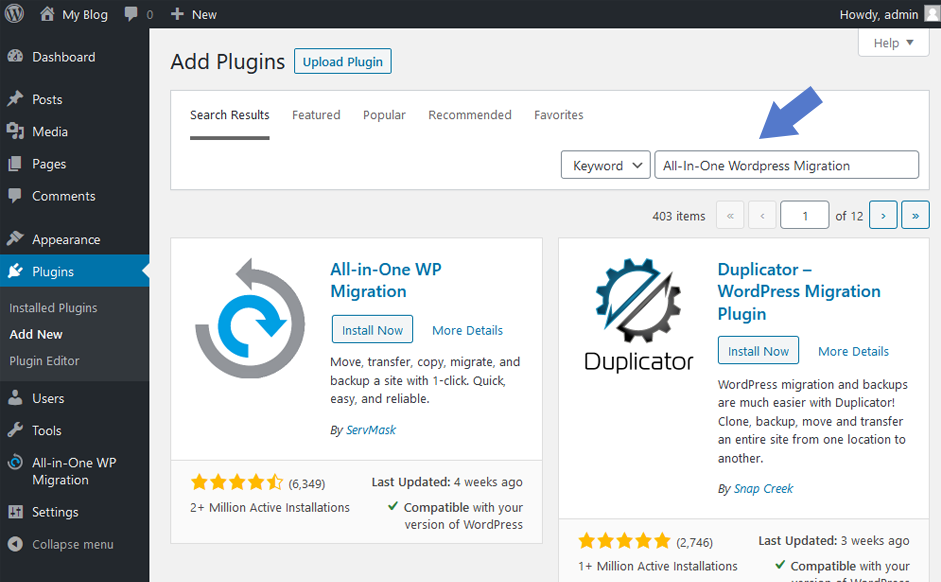
Once you found the plugin, click the “Install Now” button.
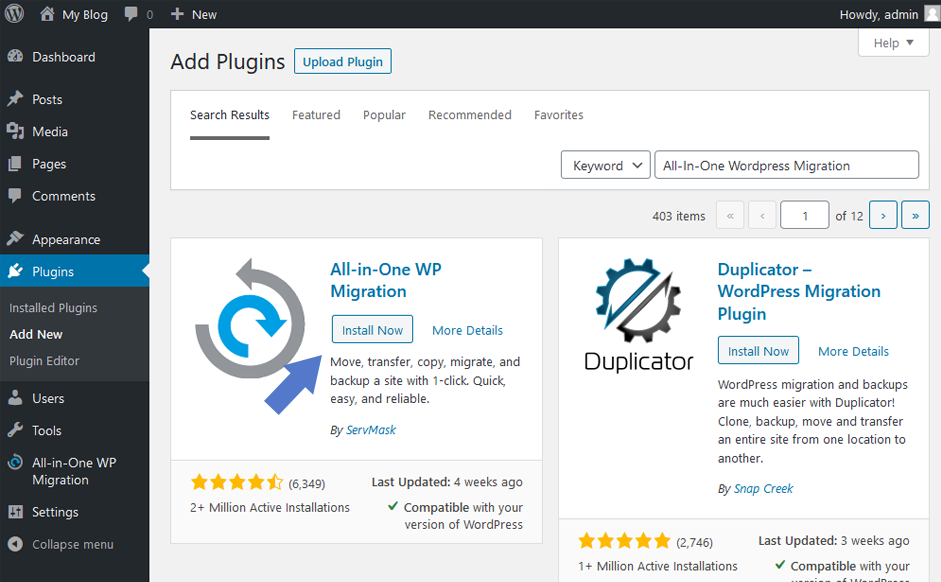
When the plugin has been installed, click the “Activate” button.
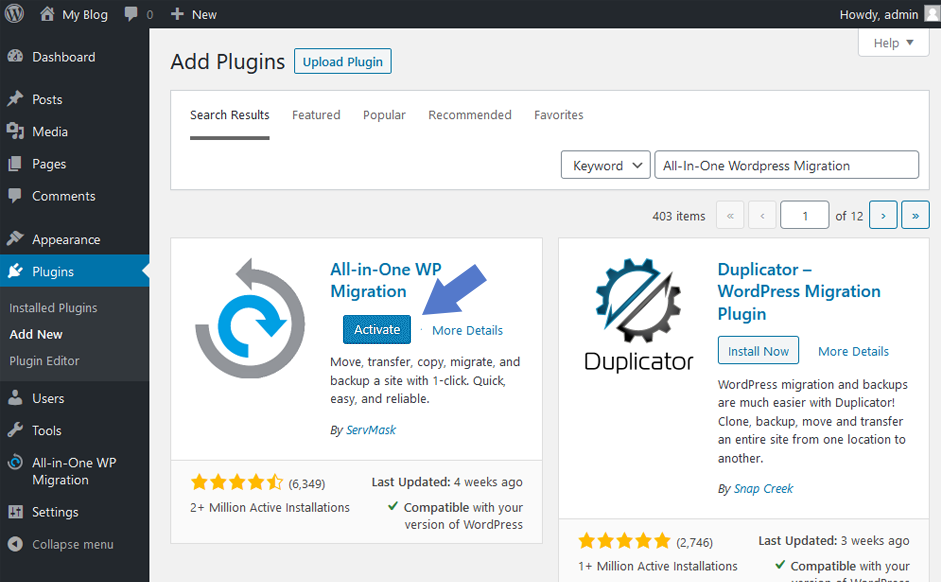
And as easy as that, the plugin is now installed on Wordpress.
Exporting a Website With the All-In-One WP Migration Plugin
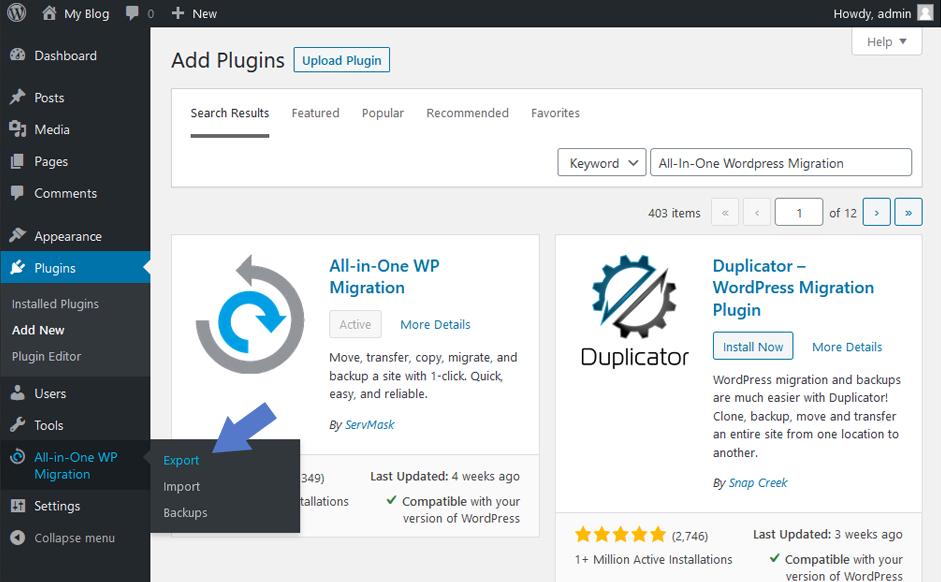
In the left column navigation mouse over the “All-in-One WP Migration” link and click the “Export” link.
There are a couple of export options.
The “Find Replace within the database” link does what it says it does. Find and replace will be useful if you’re moving to a new domain, or the path in your URLs is changing.
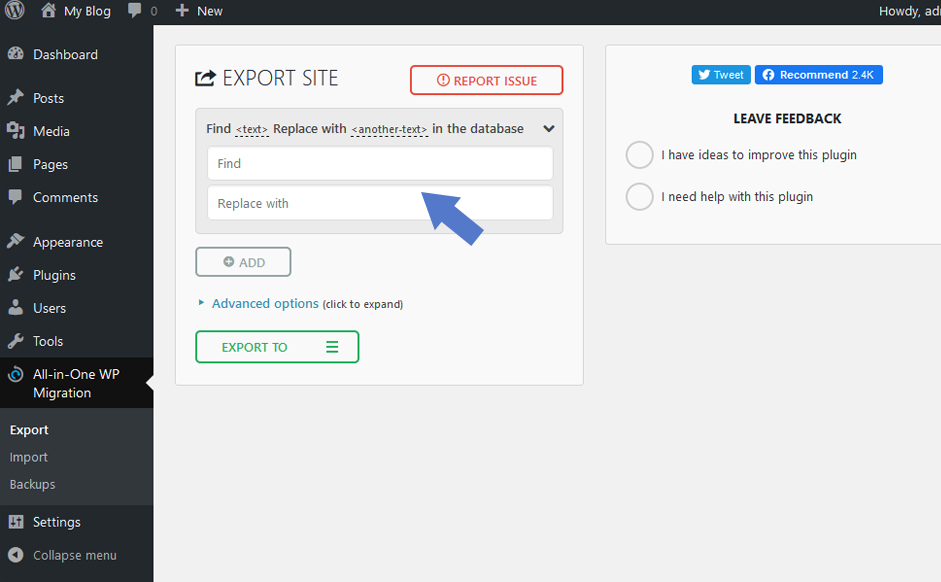
There is a “+ ADD” button to add more find and replace entries.
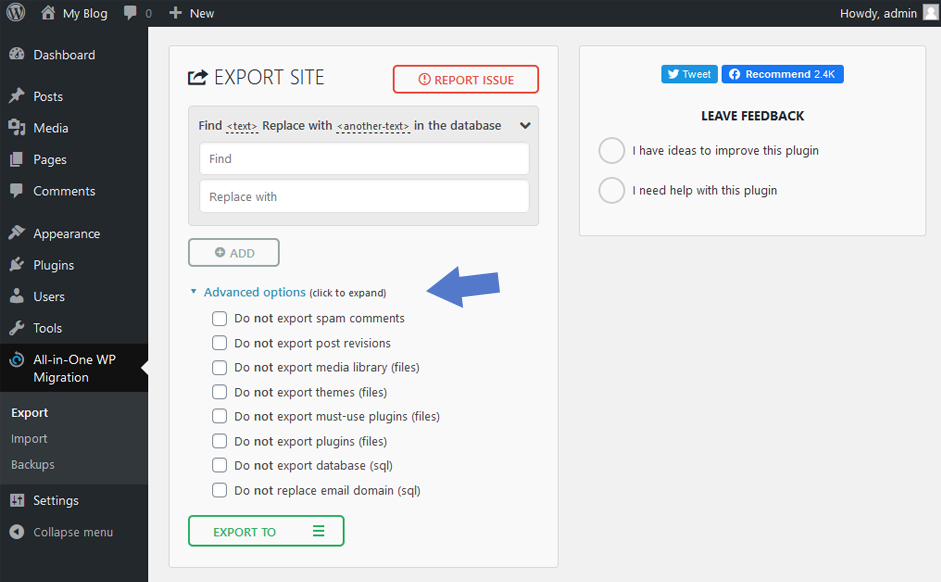
The “Advanced Options” link opens a menu of things you can exclude from the export, in case there’s something you don’t want to move to the new host.
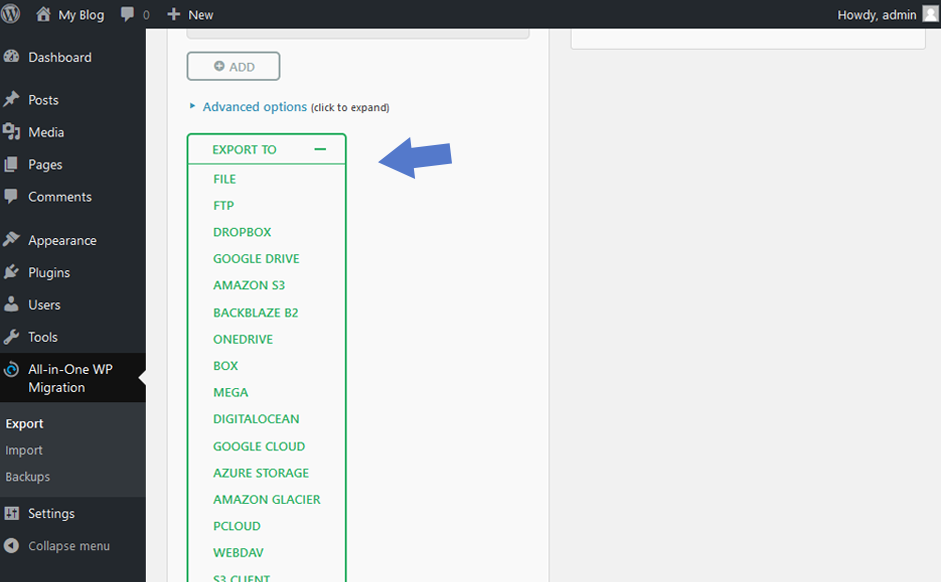
The “EXPORT TO” button presents you with a lot of cloud-based storage options. To export your WordPress site, make a selection from the “EXPORT TO” dropdown. Keep in mind that as soon as you click the export option, the export will start.
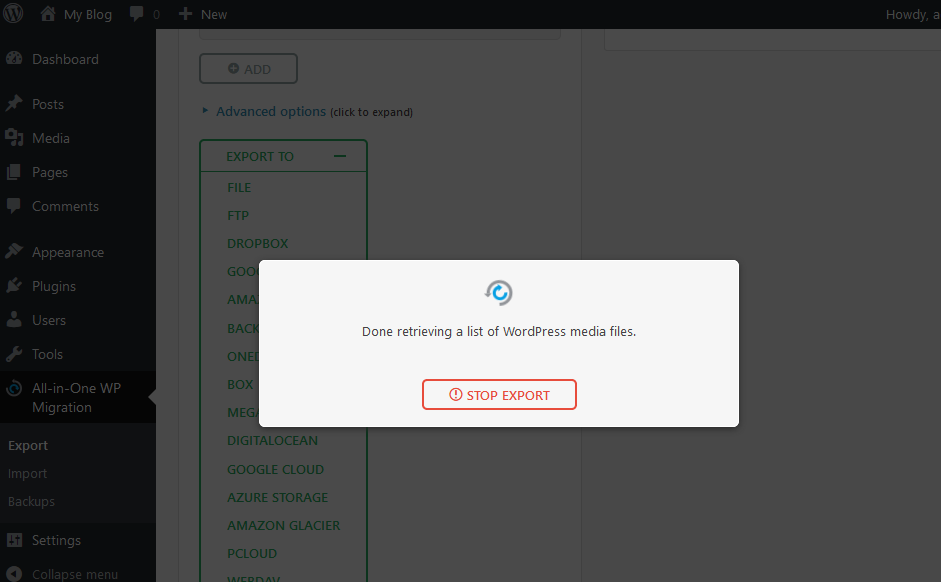
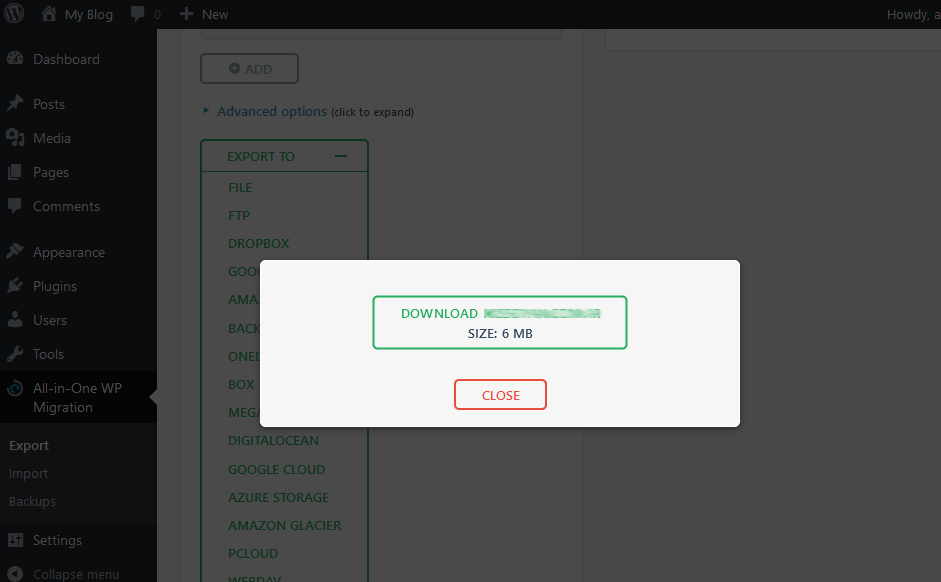
When the export is complete, that popup overlay will remain open. You have to click on the download link to save the export to your computer.
Importing a Website With the All-In-One WP Migration Plugin
Now that the old site has been exported, it’s time to import the site into your new host. The new host will need to have both Wordpress and the plugin installed for you to do this.
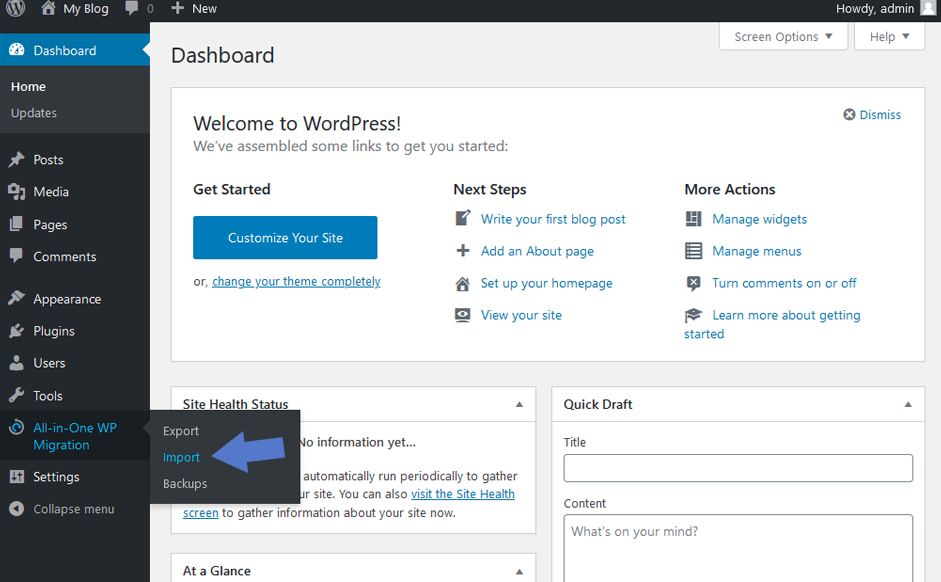
In the left column navigation, mouse over the “All-in-One WP Migration” link and click the “Import” link.
Find the export file from the old location. If you didn’t specify a location, it’s likely in your downloads directory.
Drag the export file into the Import section of All-In-One WP Migration.
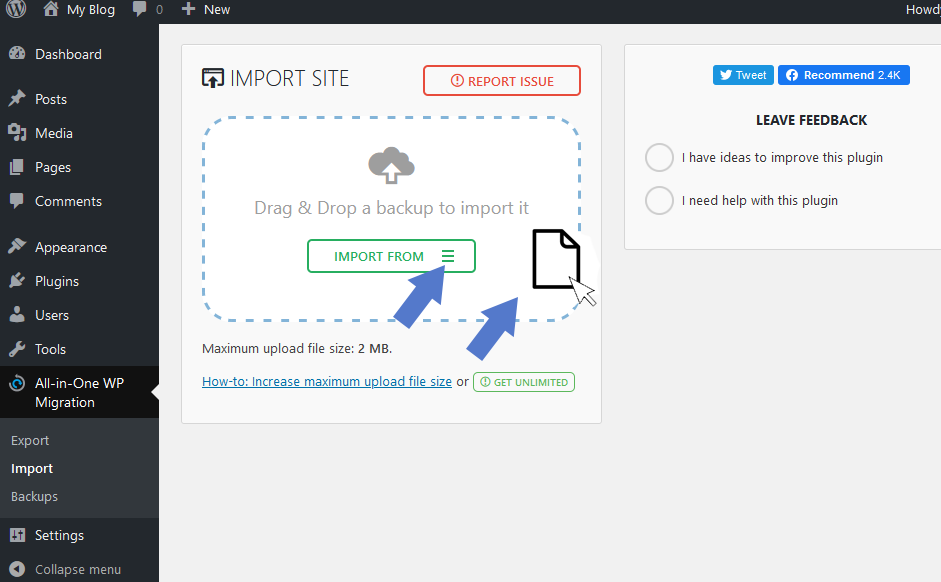
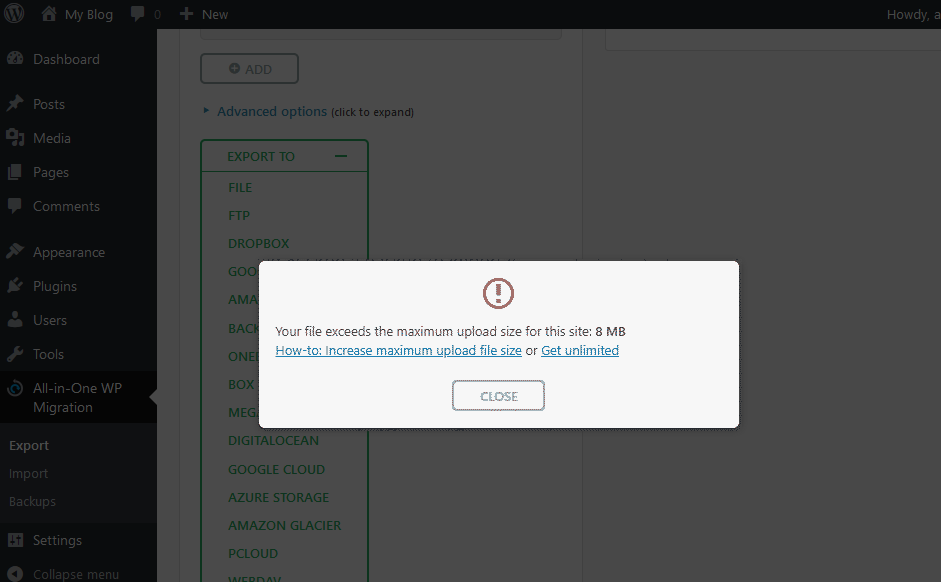
At this point in the process, you may experience an error.
Not to worry. We’ll be addressing this error in its own section. For now, let’s proceed.
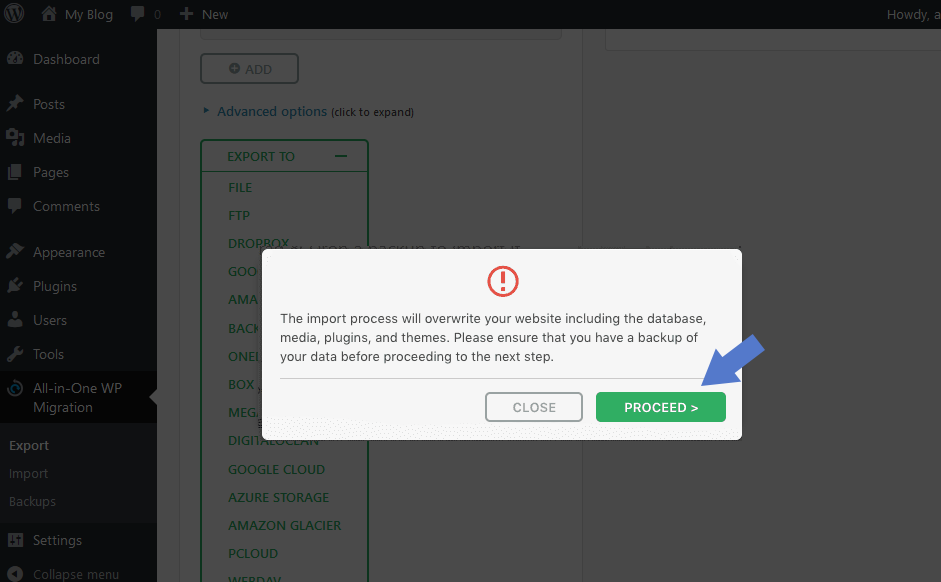
You’ll see a warning that the import will overwrite the existing database. That’s okay since we’re importing into a new WordPress installation. Click the “PROCEED” button.
You’ll get a successful import notice, but don’t close it just yet.
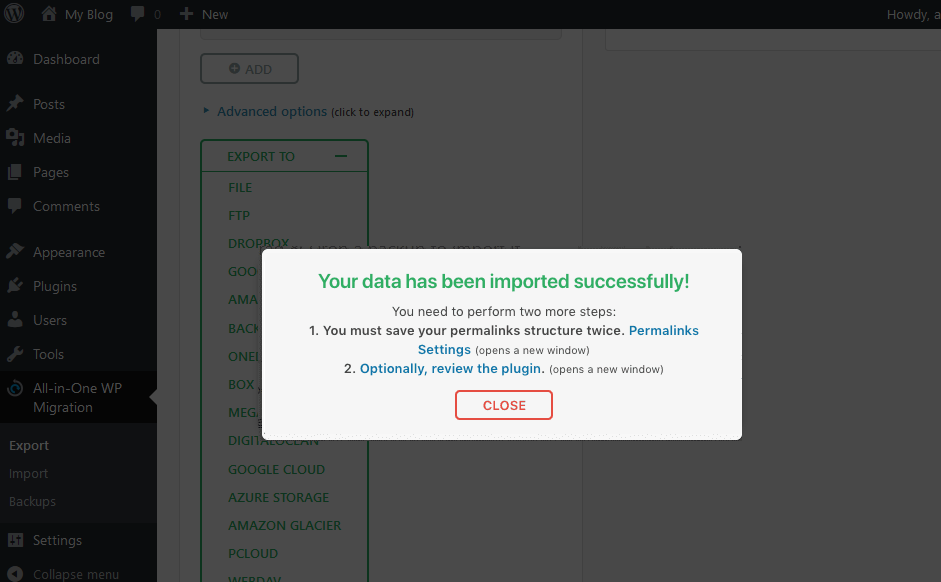
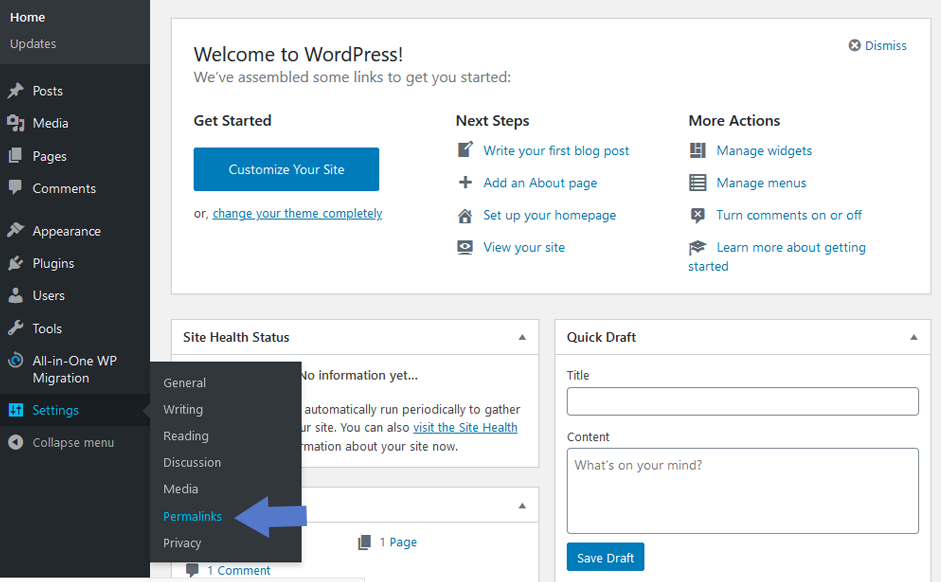
Click the “Save permalinks structure” link.
You’ll be brought to the admin login of the new WordPress installation.
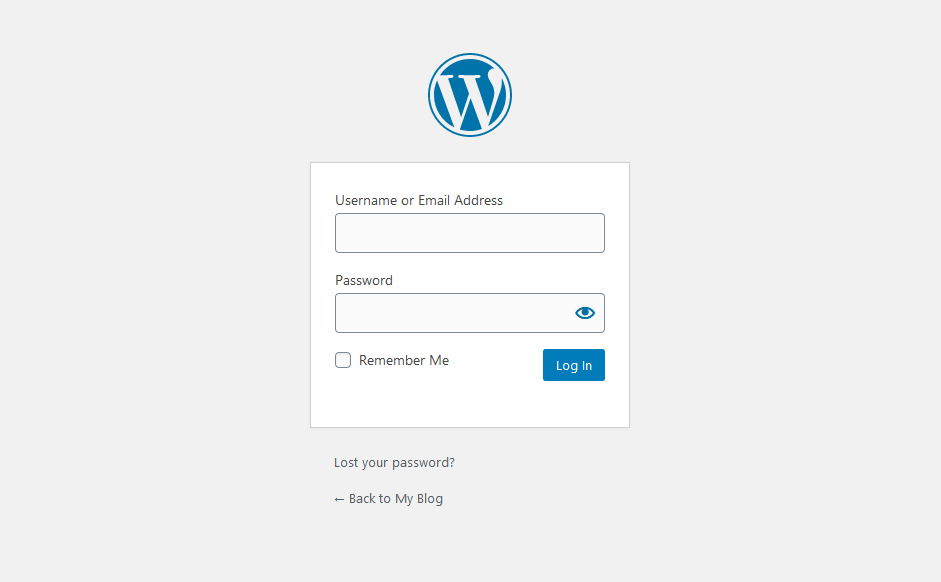
Now we just migrated the old database to the new installation, so the admin login is the same as it was on the old site.
Once you’ve logged in, you’ll be sent to the “Permalink Settings” page. Don’t change anything here; just scroll down and click the “Save Changes” button.
That’s all there is to it. Now your website has been successfully migrated to its new host, That’s it.
Fixing the “Upload Limit” Error
When you go to import your file, you may get an error that your PHP upload limit is too low:
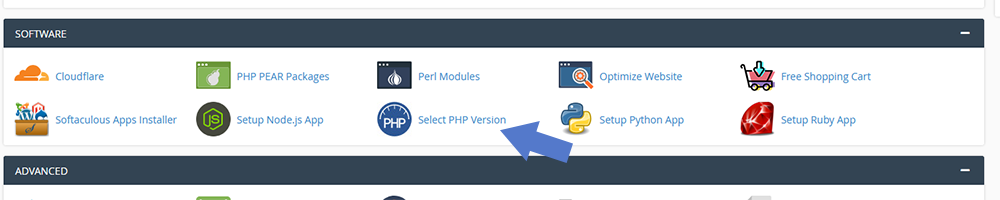
If you get this, you can login to your cPanel.
From here, search for "Select PHP Version" icon.
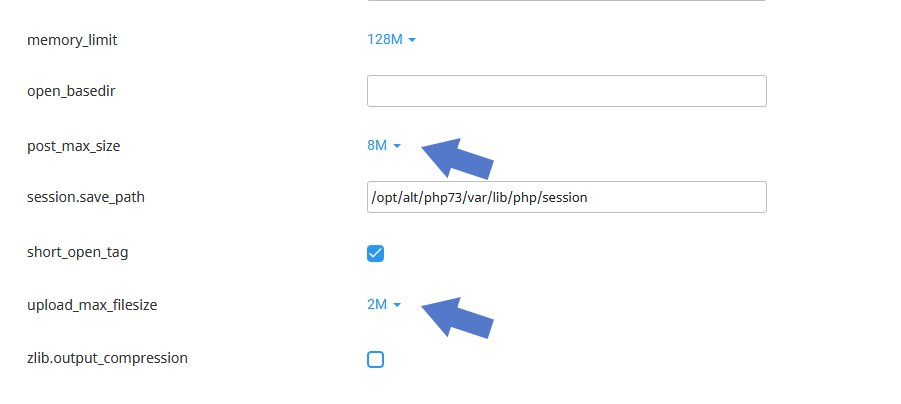
And then click the "Options" link.
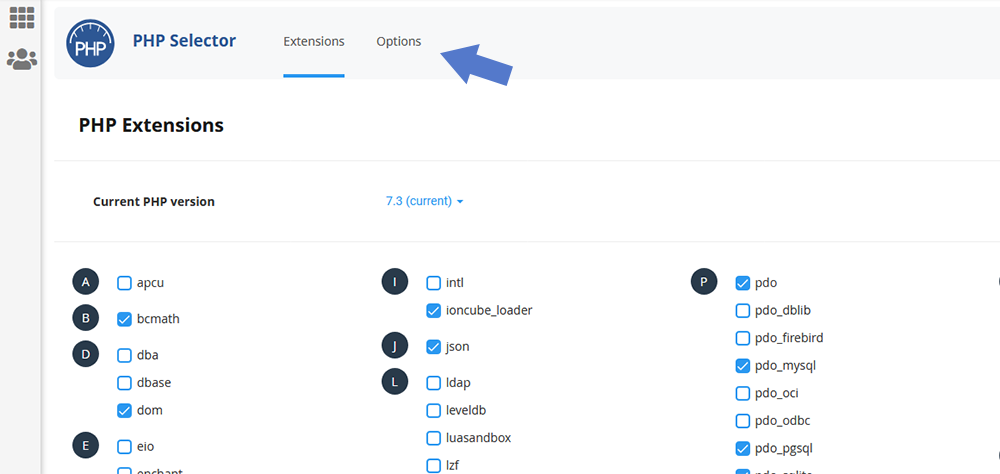
And then change your upload_max_filesize and post_max_size variables values for a higher number.
Now try the import again.
If increasing to the Max values it is still show the error, you can upgrade to the Premium version of the All-In-One WP Migration Plugin that allows for unlimited size imports for larger websites. But that’s about it, if all went according to plan, you should have fixed this common error.
